+91 97121 22229 info@regenpolytech.com Mon - Sat 09:00 - 18:00
Certified
ISO 9001:2015
The Biggest
8000 MT/Year Installed Capacity
Number #1
Supplier in region
Get A Quote

Product Kit

KEY POINT & FEATURES OF KIT
  1. Durable & economical powder testing solution.
  2. Ensure proper tightness of screws for straight vertical stance in Dry Flow Kit.
  3. All components of Kit are with Anti-Static properties to ensure minimum powder blockage / sticking during use.
  4. Multi Lingual setup instructions.
ITEM LIST / GLOSSARY
  1. Top Plate
  2. Bottom Plate
  3. Stand Pipes
  4. Dry Flow Funnel
  5. Dry Flow Control locking pin
  6. Bulk Density Cup
  7. Bulk Density Base
  8. Mesh/Micron Bowls (5 Bowls each of 25 Mesh, 40 Mesh, 80 Mesh, 100 Mesh & 120 Mesh)
  9. Top Closure Cap for Sieve Analysis Bowl
  10. Base Bowl for Sieve Analysis
  11. Ancillaries for fitting (4 Screw/Bolts for Dry Flow Stand, 1 screw set for Locking Pin)
  12. Weigh Scale
  13. Mesh Cleaning Brush
  14. Cleaning Cloth
Kit Close

KIT INSTALLATION PROCEDURE

DRY FLOW KIT
  1. Fit 4 stand pipes joining top plate and bottom plate with screw set.
  2. Fit Dry Flow control locking pin at the base of Dry Flow funnel with screw set.
  3. Fit Dry Flow funnel inside the top plate. There is a locking mechanism so you can hear a locking sound when it sticks perfectly.
  4. Keep the Bulk Density cup on its base location which is available on the bottom plate of dry flow kit. This will help in testing Bulk Density together with Dry Flow Test.
SIEVE ANALYSIS KIT
  1. Join bowls with screen in its base in descending order. (25 Mesh bowl on Top & 120 Mesh bowl at bottom). Ensure all bowls are properly locked.
  2. Join Bowl with solid base at the bottom (below 120 mesh bowl).

The video tutorial is also available on our YouTube Channel.

DRY FLOW & BULK DENSITY TESTING PROCEDURE

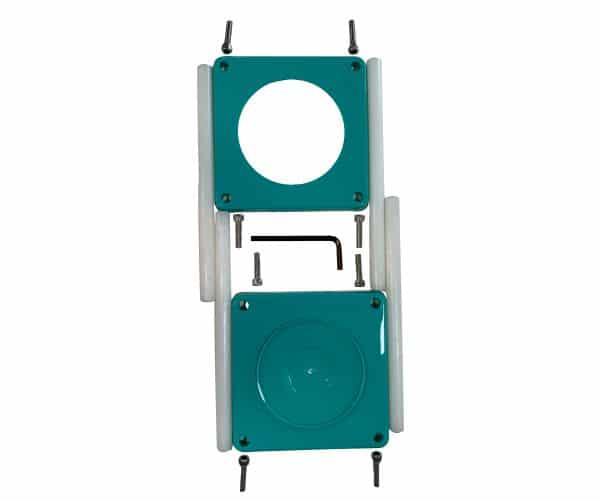
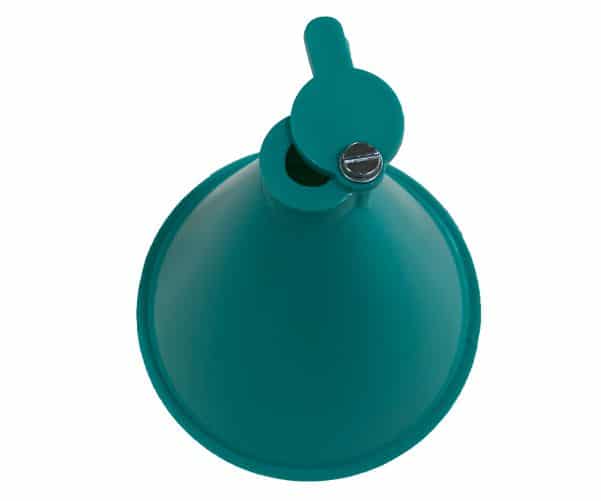
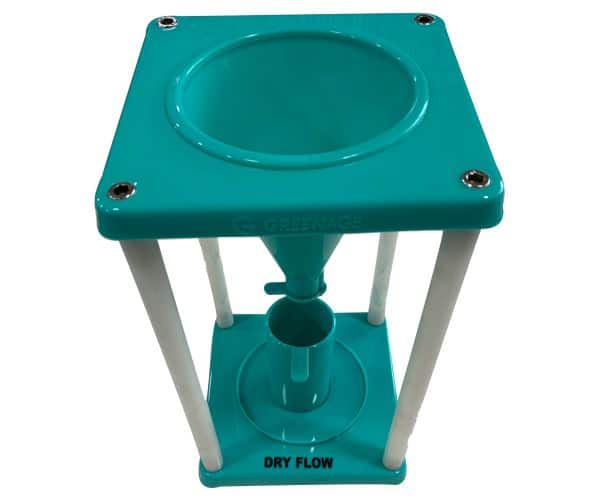
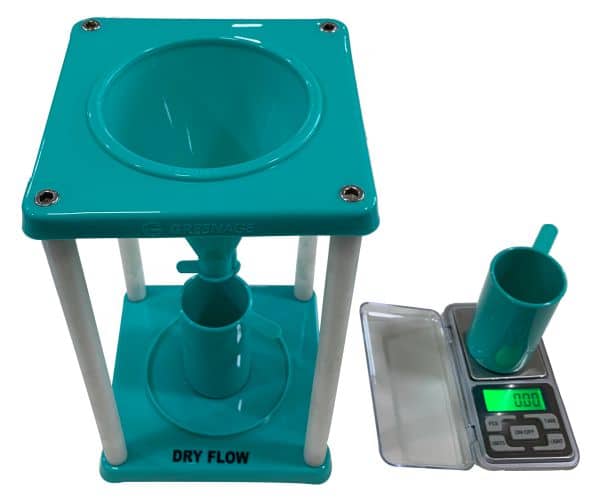
  • Close the end of Funnel by rotating the pin.
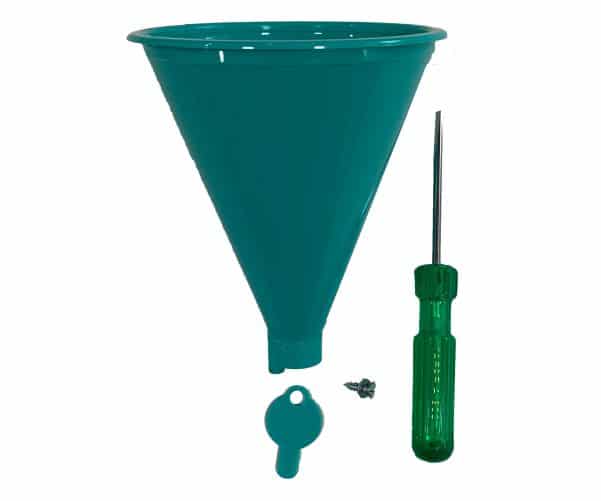
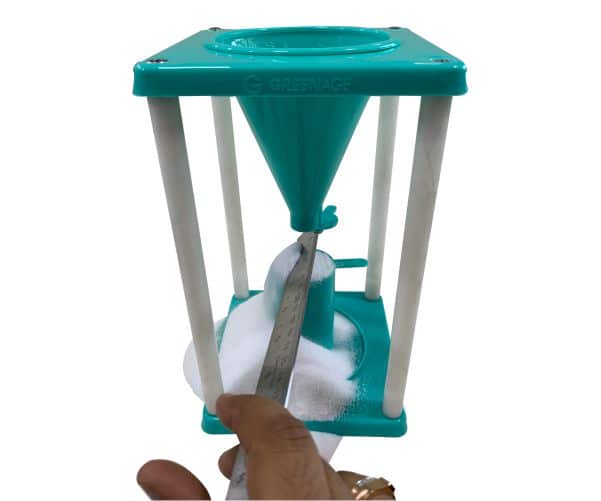
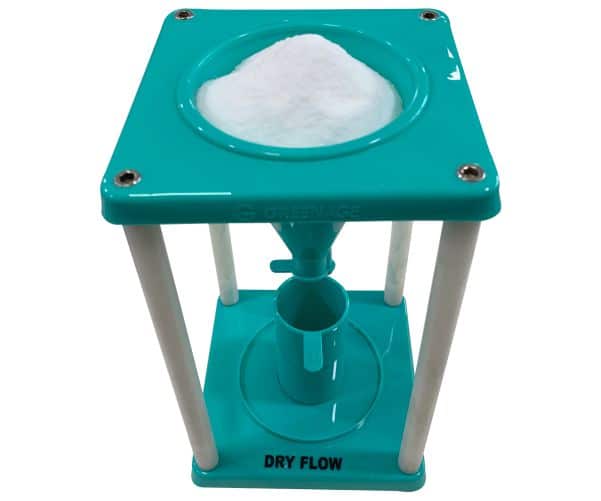
  • Pour 100 + 1 gm of the sample powder lightly into the funnel. (Avoid any pressure to pack it)
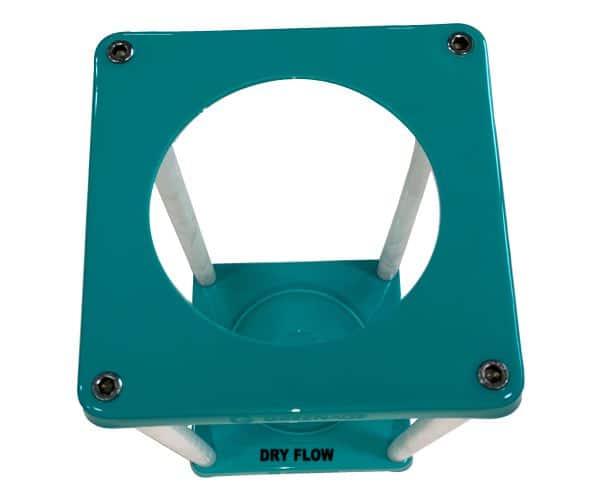
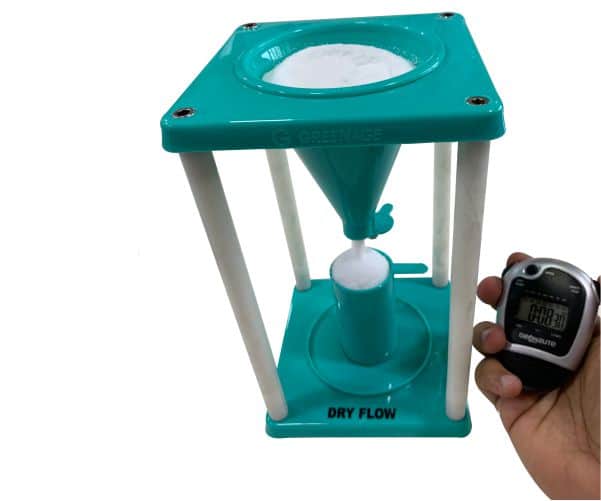
  • Open the base by rotating the pin and start the timer/stop watch.
  • Stop the watch/timer at the instant the last of the material leaves the funnel.
  • Report time in seconds to the nearest of 0.1 s.
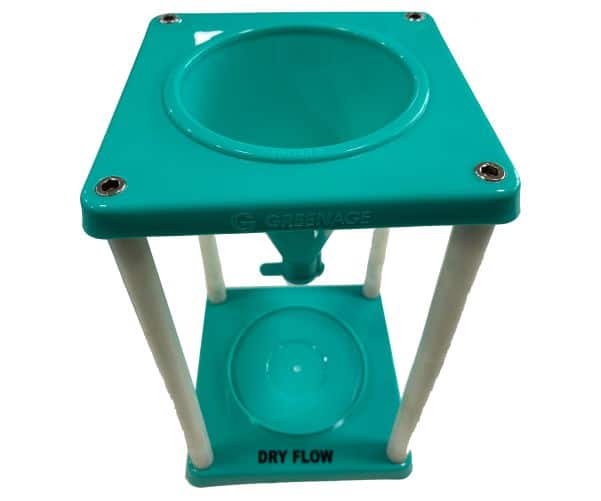
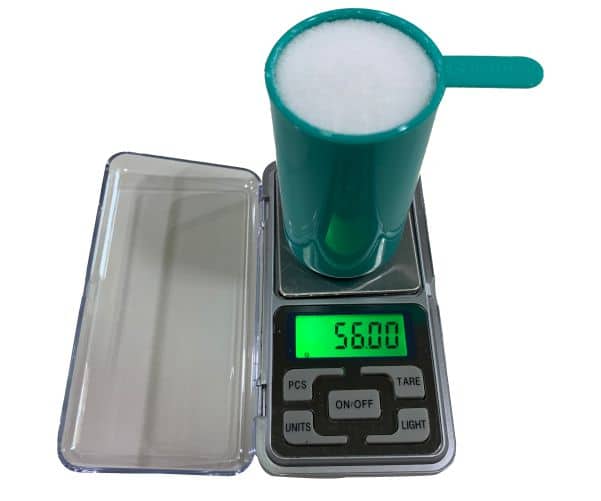
  • After all of the material has passed through the funnel, immediately scrape off the excess of top of the measuring cup with a straightedge (e.g spatula) without shaking the measuring cup.
  • Weigh the material in the cup to the nearest 0.1 gm. Calculate the weight
KEY POINTS
  1. Do not tap the funnel with a pencil or similar object to promote material flow. The need for exterior assistance to promote flow should be viewed as an indicator of unacceptable powder flow ability.
  2. The sample of the powder should be taken from the bulk in a way that prevents any segregation or sorting of powder fractions that would affect its homogeneity.
  3. It is recommended to record the temperature of the powder at the time of the test as it affect the flowability measured. The recommended powder temperature is 20-25 0C (68 – 77 0F).

A detail testing procedure can be downloaded from

https://rotomolding.org/resource/resmgr/pdf/dryflowbulkdensity.pdf

SIEVE ANALYSIS / PARTICLE SIZE DISTRIBUTION TESTING PROCEDURE

  • Weigh 30-35 gms powder in Bulk Density Cup (75% Filled).
  • Pour 30-35 gms powder in top bowl (25 Mesh bowl).
  • Close the top bowl with Ltd.
  • Shake the cylindrical setup for 5-10 mins. Try softly tapping the set on table for effective vibration.
  • Weigh powder in each bowl and record measurements.

Sample result

Sr No. Powder Size Range gms Percentage
1 Larger than 25 Mesh xx xx
2 25 Mesh – 40 Mesh xx xx
3 40 Mesh – 80 Mesh xx xx
4 80 Mesh – 100 Mesh xx xx
5 100 Mesh – 120 Mesh xx xx
6 Smaller than 120 Mesh xx Xx
Total 30 gms 100